Why Pressure Test the Engine Cooling System?
Before looking at what a radiator pressure tester kit is, let’s see why you need to test the cooling system in the first place. This will help you see the importance of owning the kit. Also, why you should consider doing the test yourself instead of taking your car to a repair shop. .
A radiator pressure tester tool is basically used when checking for coolant leaks. Your car engine heats up quickly when running. This could have a damaging effect if not controlled. In order to regulate the engine temperature, a system consisting of radiator, coolant, and hoses is used.
The cooling system must be pressure proof, or it won’t operate properly. If it leaked, the resulting loss of pressure would cause the coolants’ boiling point to decrease. That, in turn, would lead to the engine overheating. Coolant may also spill and bring more problems.
You could visually inspect the engine and nearby components for visible spills. Unfortunately, this is not the best method to diagnose the problem. Some leaks are too small to spot by looking, while others are internal. This is where the pressure tester kit for radiator comes in
Cooling system radiator pressure testers help you locate leaks (both internal and external) quickly and with a lot of ease. Let’s see how they work.
How Cooling System Pressure Testers Work
Cooling system pressure testers are needed in order to find the cracks in coolant hoses, detect weakened seals or damaged gaskets, and diagnose bad heater cores among other problems. Also called coolant pressure testers, these tools work by pumping pressure into the cooling system to replicate a running engine.
When the engine is operating, coolant heats up and pressurizes the cooling system. That’s the condition that pressure testers create. The pressure helps reveal cracks and holes by causing coolant to drip or by allowing the smell of coolant to fill the air.
There are several versions of cooling system pressure testers in use today. There are those that use shop air to work and those that use a hand-operated pump to introduce pressure into the system.
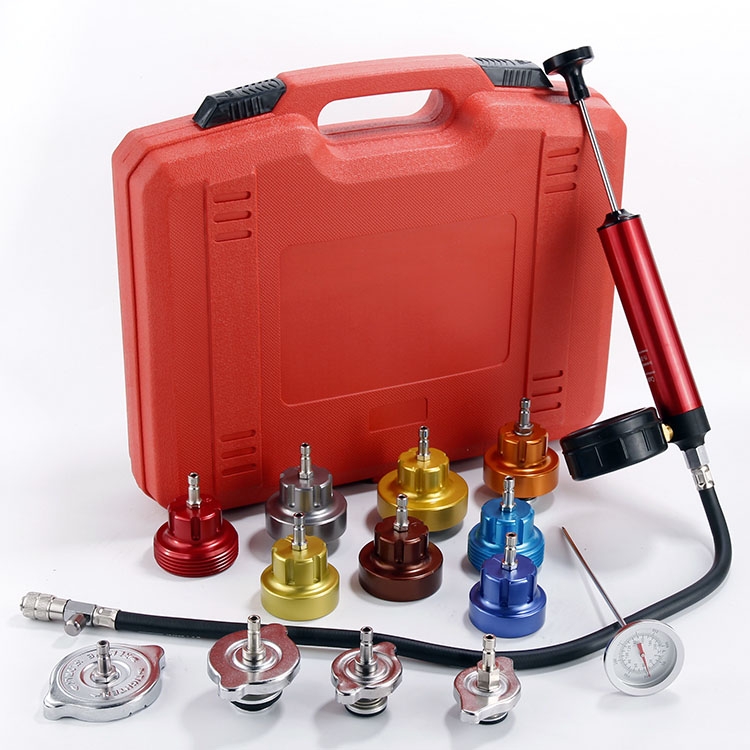
The most common type of cooling system pressure tester is a hand pump with a pressure gauge built to it. This one also comes with a range of adapters to fit the radiator caps and filler necks of different vehicles.
The hand pump version and its many pieces is commonly called the radiator pressure tester kit. As indicated, it’s the type of tester that many car owners use to check engine cooling systems.

What is a Radiator Pressure Tester Kit?
A radiator pressure tester kit is a type of pressure testing kit that allows you to diagnose the cooling systems of many different vehicles. It also allows you to carry out tests the do-it-yourself way, which saves you on costs and time. As a result, many people call it a DIY radiator pressure tester kit.
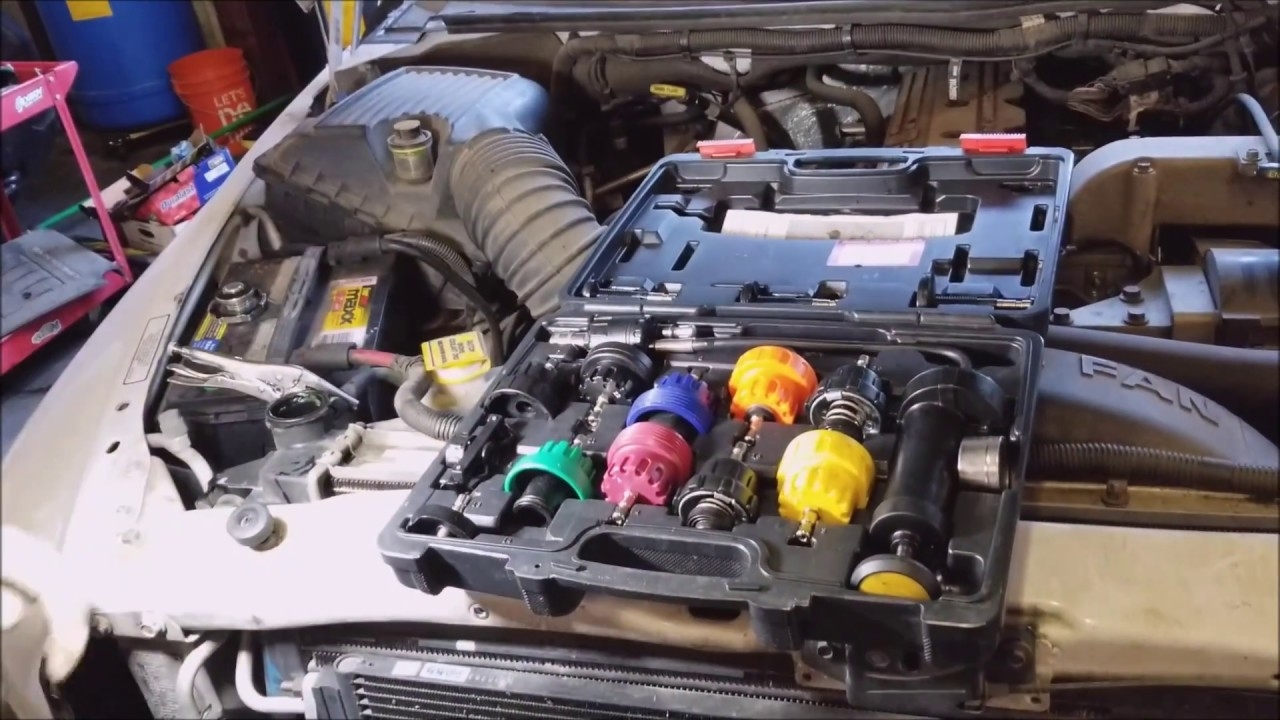
A typical car radiator pressure kit contains a small pump to which a pressure gauge is attached and several radiator cap adapters. Some kits also come with filler tools to help you replace coolant, while others include an adapter to test the radiator cap.
The hand pump helps you introduce pressure into the cooling system. This is important since it helps simulate conditions when the engine is in operation. It also makes leaks easy to spot by pressuring the coolant and causing it to produce visible spills in the cracks.
The gauge measures the amount of pressure being pumped into the system, which must match the specified level. This is usually indicated on the radiator cap in either PSI or Pascals and must not be exceeded.
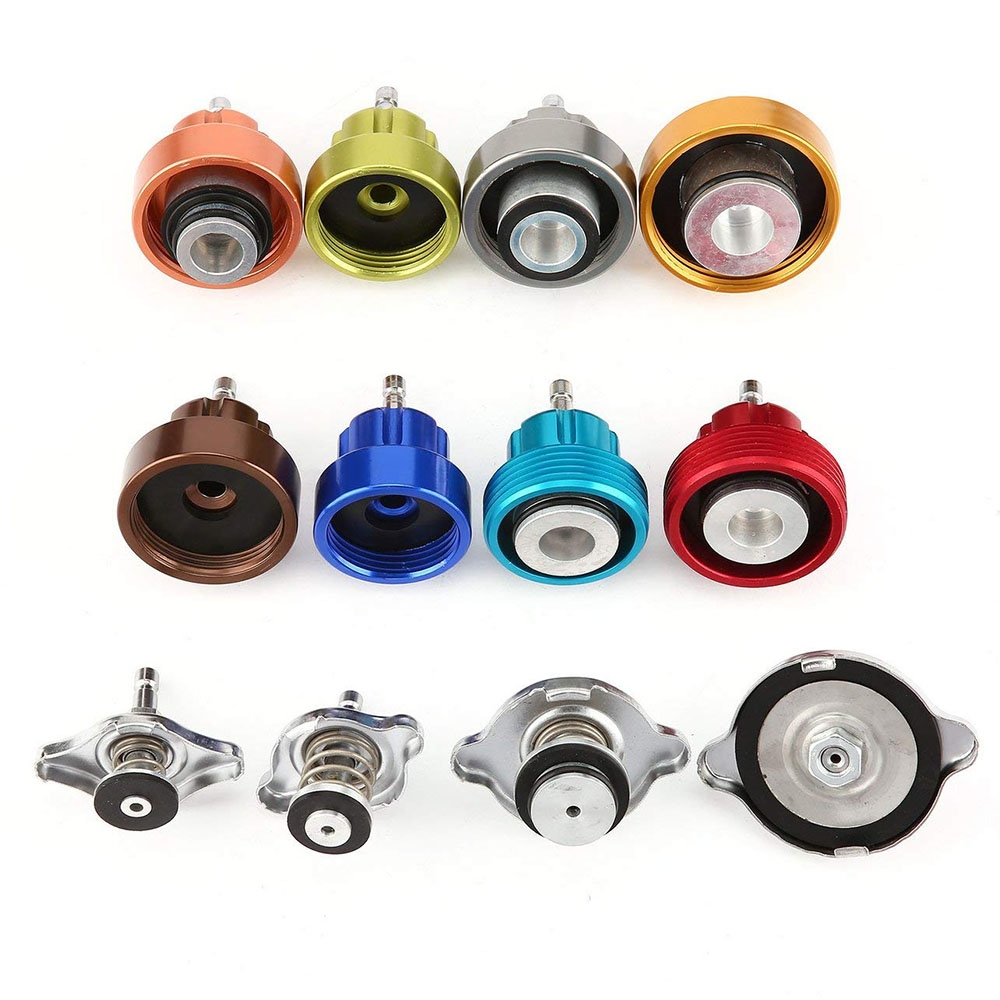
Radiator pressure tester adapters, on the other hand, help you to service different vehicles using the same kit. They’re essentially caps to replace the radiator or overflow tank caps but with extensions or couplers to connect to the tester pump.
A car radiator pressure test kit can contain a few to as many as more than 20 adapters. It depends on the number of cars that it’s meant to serve. In most cases, these adapters are color-coded for easy identification. Some adapters also use additional features to make them more usable such as snap on mechanisms.

How to Use a Radiator Pressure Tester Kit
A radiator pressure test checks the cooling system’s condition by measuring how well it can hold pressure. Generally, you should pressure test the system every time you flush out or replace coolant. Also, when there are overheating problems with the engine and you suspect a leak to be the cause. A radiator pressure tester kit makes the test easy.
The conventional radiator and cap test kit contains simple parts that are easy to use. In order to illustrate that, let’s have a look at how to check for leaks when using one. You will also learn useful tips to ensure a smooth and safe process.
Without further ado, here is how to do a pressure test on a cooling system using the radiator the radiator pressure tester kit.
What You’ll Need
● Water or coolant (to fill the radiator and coolant reservoir if need be)
● Drain pan (to catch any coolant that may spill out)
● A radiator pressure tester kit for your type of car
● The car owner’s manual
Step 1: Preparations
● Park your car on a flat, level ground. Allow the engine to completely cool if it has been running. This is to avoid burns from hot coolant.
● Use the manual to find the correct PSI rating or pressure for the radiator. You can also read that on the radiator cap.
● Fill the radiator and overflow tank with either water or coolant using the right procedure and to the correct levels. Use water if planning to flush coolant to avoid wastage.
Step 2: Remove the Radiator or Coolant Reservoir Cap
● Place a drain pan under the radiator to hold any coolant that may spill out
● Remove the radiator or coolant reservoir cap by twisting in an anticlockwise direction. This will enable you fit the radiator pressure tester cap or adapter.
● Fit the correct adapter to replace the radiator cap by pushing it down the radiator filler neck or expansion reservoir. Manufacturers will usually indicate what adapter suits what car type and model. (Some older vehicles may not need an adapter)
Step 3: Connect the Radiator Pressure Tester Pump
● With the adapter in place, it’s time to attach the tester pump. This usually comes with a pumping handle, pressure gauge, and connecting probe.
● Connect the pump.
● Pump the handle while observing the pressure readings on the gauge. The pointer will move with the increase in pressure.
● Stop pumping when the pressure equals that indicated on the radiator cap. This will prevent damage to cooling system parts such as seals, gaskets, and coolant hoses.
● In most applications, the optimal pressure ranges from 12-15 psi.
Step 4: Observe the Radiator Pressure Tester Gauge
● Observe the pressure level for a few minutes. It should remain steady.
● If it drops, there’s a high likelihood of an internal or external leak. Check for leaks around these areas: radiator, radiator hoses (upper and lower), water pump, thermostat, firewall, cylinder head gasket, and the heater core.
● If there are not visible spills, the leak is likely internal and indicating a blown head gasket or faulty heater core.
● Get into the car and turn on the AC fan. If you can detect the sweet smell of antifreeze, the leak is internal.
● If the pressure remains steady for a considerable period, the cooling system is in good condition without leaks.
● A pressure drop could also result from a bad connection when attaching the tester pump. Check that also and repeat the test if connection was faulty.
Step 5: Remove the Radiator Pressure Tester
● Once done with testing the radiator and cooling system, it’s time to remove the tester.
● Start by relieving the pressure via the pressure release valve. In most cases, that involves pressing a rod on the pump assembly..
● Check to see that the pressure gauge reads zero before disconnecting the tester.
Post time: Mar-14-2023


