Bleeding brakes is a necessary part of routine brake maintenance, albeit a little messy and unpleasant. A brake bleeder helps you bleed your brakes by yourself, and if you’re a mechanic, to bleed them quickly and efficiently.
What is a Brake Bleeder?
A brake bleeder is a special tool that allows you use to easily and safely remove air from your car’s brake lines using the vacuum pressure method. The device works by drawing brake fluid (and air) through the brake line and out of the bleeder valve. This provides the best brake bleeding method for these 3 reasons.
1. The device makes bleeding brakes a one-person process. This is why it’s often called a one-person brake bleeder.
2. It is easier to use and safer than the older two-person method where one person depressed the pedal while the other opened and closed the bleeder valve.
3. The tool also keeps you from making a mess when bleeding brakes. It comes with a catch container and different hoses to ensure a mess-free flow of old, brake fluid.
Brake Bleeder Types
The brake bleeder tool comes in 3 different versions: manual brake bleeder, pneumatic brake bleeder, and, electric. Each type of bleeder has its advantages when used in different situations.
Manual Brake Bleeder
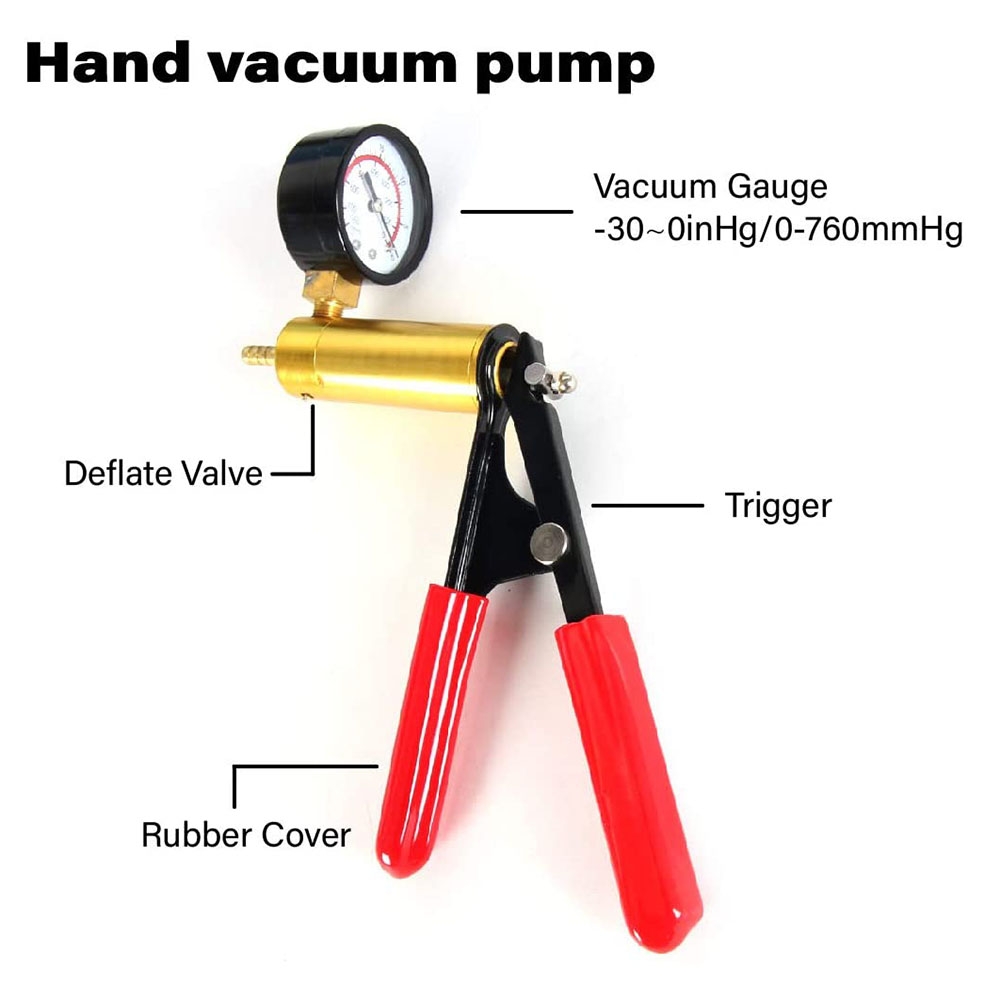
The manual brake bleeder includes a hand pump with a pressure gauge connected to it. This is the most common type of bleeder. It offers the advantage of being inexpensive, plus you can use it anywhere since it doesn’t need a power source.
Electric Brake Bleeder
This type of brake bleeder machine is electrically powered. Electric bleeders are more expensive than manual bleeders, but they are effortless to use. You only need to press an on/off button, which is preferable when you need to bleed more than one car at a time.
Pneumatic Brake Bleeder
This is a powerful type of brake bleeder and uses compressed air to create suction. A pneumatic brake bleeder is the best choice for those who want an automatic machine that will not require them to keep pumping a handle to create suction.

The Brake Bleeder Kit
Because users often want a tool that can serve different vehicles, the brake bleeder normally comes as a kit. Different manufacturers may include different items in their kits. However, a standard brake bleeder kit will come with the following items:
● A vacuum pump with a pressure gauge connected– the brake bleeder vacuum pump is the unit that creates vacuum pressure to extract fluid.
● Several lengths of clear plastic tubing– each brake bleeder tube connects to a specific port and there’s a tube for the pump unit, catch container, and bleeding valve adapter.
● Several bleeder valve adapters. Each brake bleeder adapter is meant to fit a specific bleeding valve width. This allows car owners and mechanics to bleed the brakes of different vehicles.
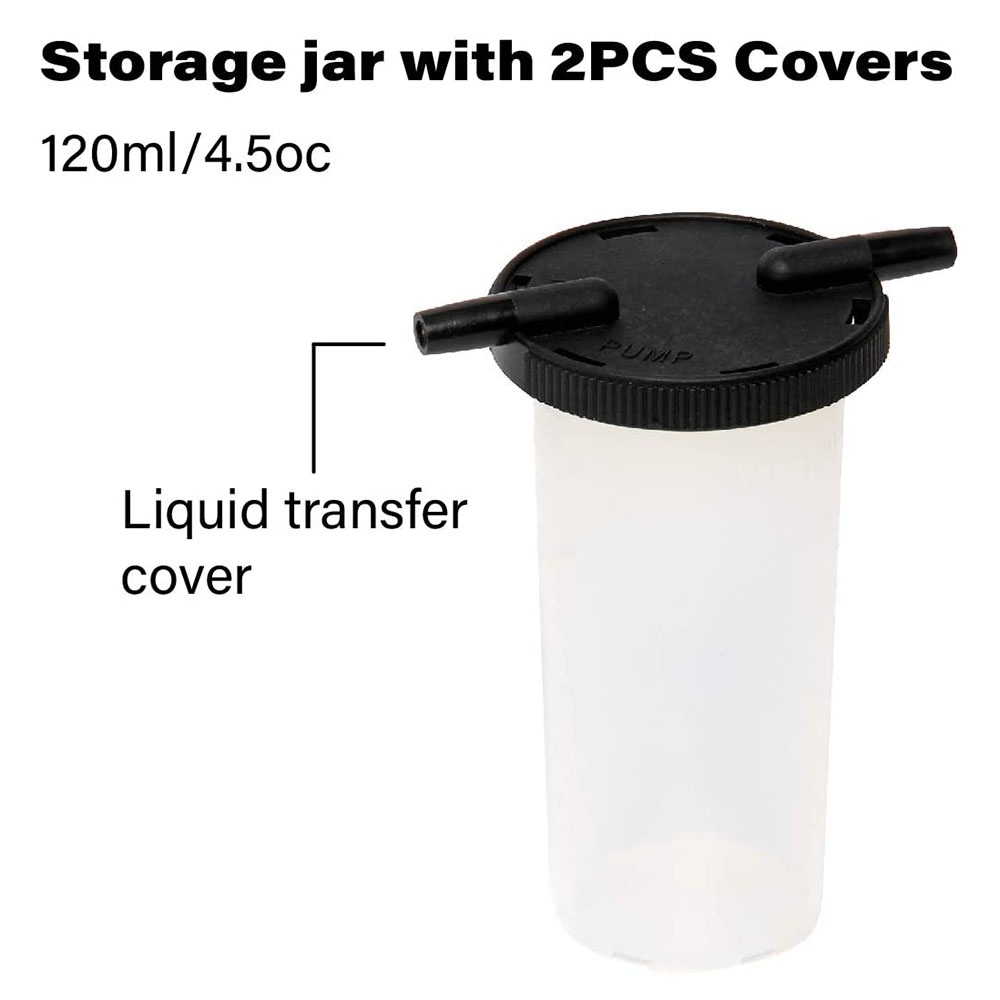
● A plastic catch container or bottle with a lid– the work of the brake bleeder catch bottle is to hold the old brake fluid coming out of the bleeding valve.
How do Brake Bleeders Work?
The brake bleeder machine works by using vacuum pressure to force brake fluid through the line and out of the bleeder valve. When the bleeder is in operation, a region of low pressure is created. This low pressure region acts as a siphon and pulls fluid from the brake system.
The fluid is then forced out of the bleeder valve and into the device’s catch container. As the brake fluid flows out of the bleeder, air bubbles are also forced out of the system. This helps to remove any air that may be trapped in the lines, which can cause brakes to feel spongy.

How to Use a Brake Bleeder
Using a brake bleeder is a simple process, but there are a few things you need to keep in mind. First, you need to know how to properly bleed your car’s brakes. Second, you need to have the right tools for the job. And third, you need to be aware of how to use bleeders. This step-by-step guide will show you how to use a brake bleeder and vacuum pump kit correctly.
Things You Will Need:
● Brake bleeding equipment/kit
● Brake fluid
● Jack and jack stands
● Box wrenches
● Wheel removal tools (lug wrench)
● Towels or rags
● Safety gear
Step 1: Secure the Car
Park the car on a level surface and engage the parking brake. Place blocks/chocks behind the rear tires to prevent the car from rolling. Next, use the appropriate tools and procedure to remove the wheels.
Step 2: Remove the Master Cylinder Cap
Locate the master cylinder reservoir under the hood of the car. Remove its cap and set it aside. Check the fluid level and, if too low, top it up before you can start the brake bleeding process.
Step 3: Prepare the Brake Bleeder
Follow the instructions that came with your brake bleeder and vacuum pump kit to prep it for use. Different bleeders will use different preparation methods. However, you will mostly need to hook the different hoses as directed.
Step 4: Locate the Bleeder Valve
Locate the bleeder valve on the caliper or wheel cylinder. Start with the wheel farthest from the master cylinder. The location of the valve will vary depending on your vehicle. Once you have found the valve, open its dust cover in readiness to connect the brake bleeder adapter and hose.
Step 5: Attach the Brake Bleeder Hose
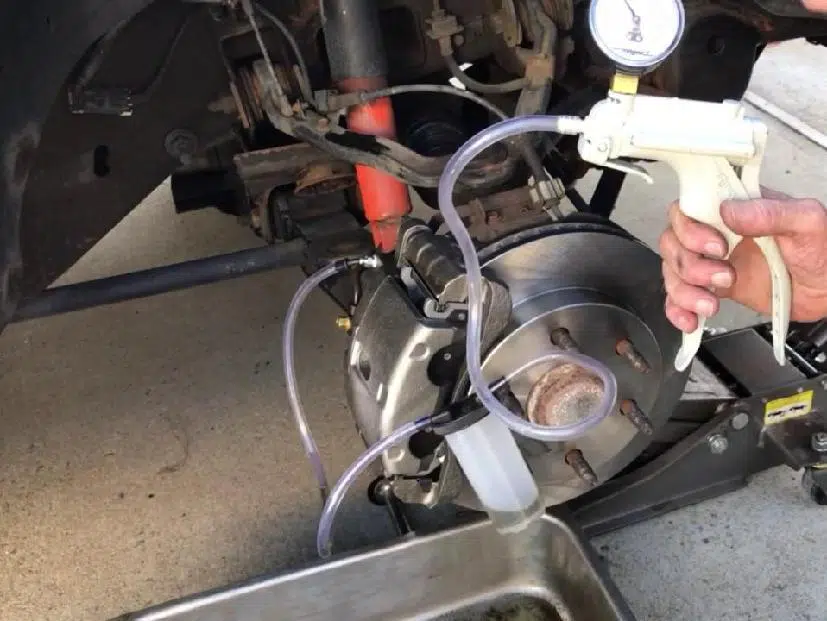
A brake bleeder kit will usually come with several adapters to fit different-sized valves. Find the adapter that fits your bleeder valve on your car and connect it to the valve. Next, attach the correct brake bleeder tube/hose to the adapter. This is the hose that goes to the catch container.
Step 6: Open the Bleeder Valve
Using a box end wrench, open the brakes system’s bleeder valve by turning it counterclockwise. Do not open the valve too much. A half-turn is adequate.
Step 7: Pump the Brake Bleeder
Pump the brake bleeder hand pump to start drawing fluid out of the system. The fluid will flow out of the valve and into the bleeder’s fluid container. Continue pumping until only clean fluid flows from the valve. This is also the time when the fluid will be clear of bubbles
Step 8: Close the Bleeder Valve
Once the only clean fluid is flowing from the valve, close the valve by turning it clockwise. Then, remove the bleeder hose from the valve and replace the dust cover. Repeat steps 3 through 7 for each wheel on your car. With all lines bled, replace the wheels.
Step 9: Check the Brake Fluid Level
Check the level of fluid in the master cylinder. If it is low, add more fluid until it reaches the “Full” line. Next, replace the reservoir cover.
Step 10: Test the Brakes
Before taking the car out for a test drive. Slowly drive the car around the block, paying attention to how the brakes feel. If they feel spongy or soft, you may need to bleed them again.
Post time: Feb-07-2023


